
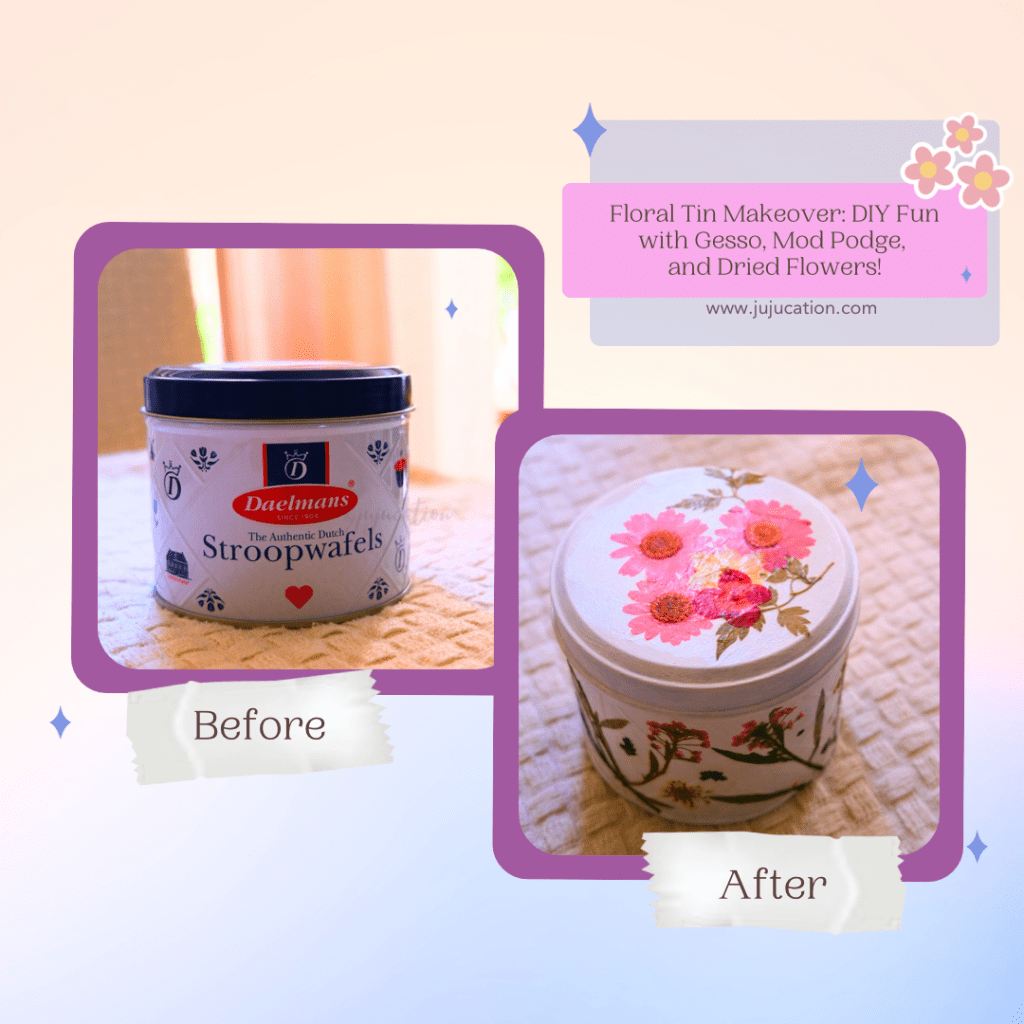
Upcycling is the ultimate DIY joyride because it transforms old, forgotten items into personalized treasures – think of it as giving your stuff a glamorous makeover without breaking the bank! Plus, it’s like crafting with a secret superhero mission, saving the planet one cookie tin at a time – eco-friendly AND fabulous! ✨
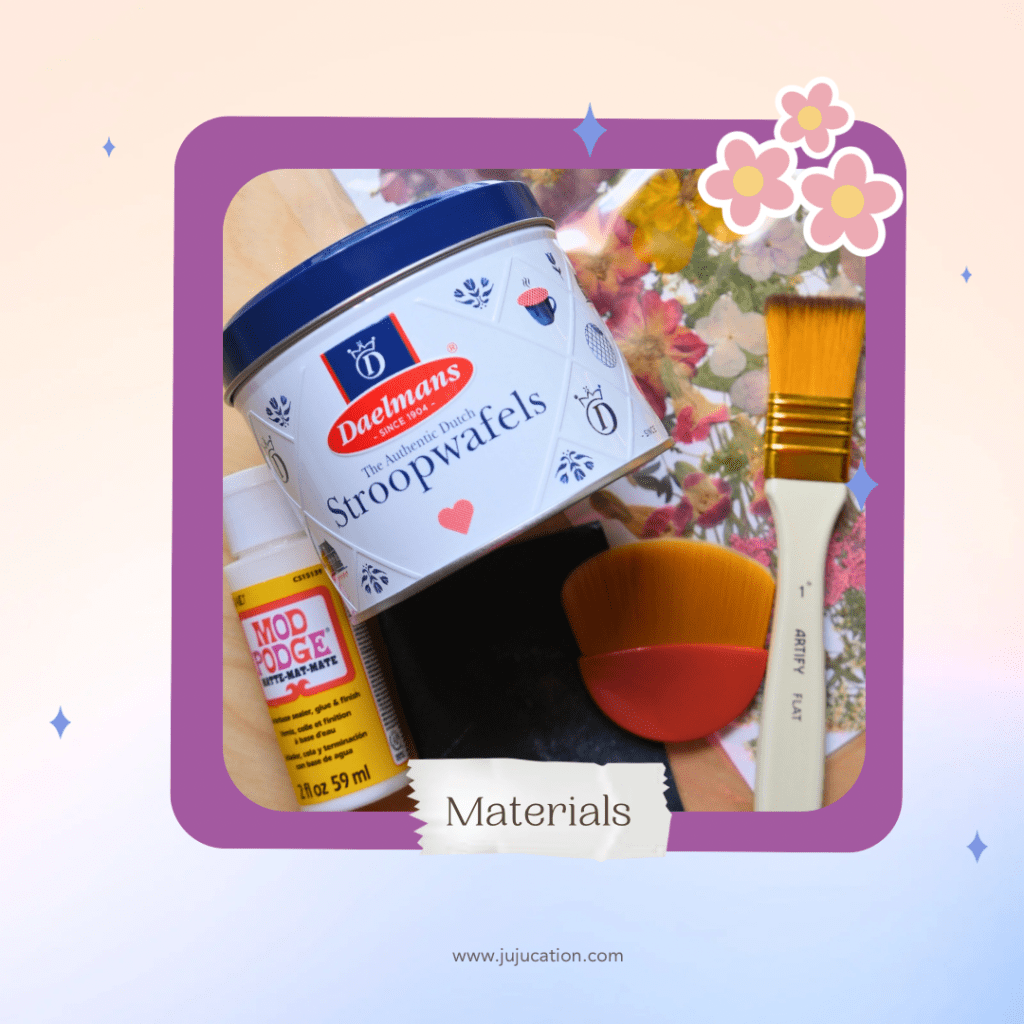
You will need:
- Cookie tin
- Gesso
- Mod Podge
- Dried flowers
- Sandpaper (for that tin spa treatment)
- Brushes
- Clear sealant (optional, but oh-so-fancy)
Now, let’s dive into the fun stuff:
- Clean the Tin:Give that tin a good scrub with sandpaper. We want a clean canvas for our creative genius.
- Gesso It Up: Slap on some gesso like you’re giving it a mini spa day. Smooth is the name of the game. Let it dry – patience, grasshopper.
- Flower Power Planning: Imagine your tin as a floral canvas. Arrange those dried flowers like you’re arranging a bouquet. Trim off any excess stems or leaves and make sure the pieces lie flat against the tin.
- Mod Podge Magic: Time to stick those flowers on. Paint the back with Mod Podge and press them onto your tin with love. Be sure to smooth out any wrinkles.
- Seal the Deal: Once your flowers are in place, coat the whole shebang with Mod Podge. It’s like giving your creation a protective hug. Let it dry – good things come to those who wait.
- Coat Check (Optional): If you’re feeling extra fancy, throw on more Mod Podge coats. Think of it as giving your tin a stylish jacket for the crafty runway.
- Inspect and Perfect: Give your tin a once-over. Sand away any rough spots, touch up with Mod Podge or gesso if needed. It’s your masterpiece – make it pop!
- Finishing Flourish: Consider a clear sealant for that final touch. It’s like adding the cherry on top of your DIY sundae.
Voila! You’ve just transformed a cookie tin into a work of art. Give yourself a pat on the back and find the
perfect spot to show off your newfound crafting prowess! ✨
