
A complete beginner’s honest experience with wax melt making – the surprises, successes, and lessons learned
Getting Lit Diaries is my honest, real-time journal of learning how to make candles from scratch. I share the wins, mistakes, and tips along the way so fellow beginners and the candle-making community can grow with me.
A few months ago, I finally took the plunge and made my first batch of wax melts. I’d been watching countless YouTube tutorials and reading blog posts, but I was still nervous about actually trying it myself. Would they work? Would they smell good? Would I mess it up completely?
A super delayed testing session later and I can now report: they turned out way better than I expected! But there were definitely some surprises along the way, and I learned so much that I wish someone had told me before I started.
If you’re a complete beginner like me, I want to share my real experience – the good, the nerve-wracking, and the “oh wow, I actually did it!” moments.
Why I Finally Decided to Try Making My Own
I’ll be honest – I was intimidated at first. All the tutorials made it seem like there were so many ways to mess up as a beginner. But I was really curious about wickless candles and wondered how different it was from making candles
Plus, I loved the idea of controlling exactly what goes into them and being able to customize scents for different rooms or moods. And let’s be real – I was curious if I could actually do this!
What I Actually Used (And What Worked Surprisingly Well)
Here’s exactly what I used for my first batch:
Equipment:
- Electric wax melter (I got nervous about the stove methods)
- Digital thermometer (this was crucial!)
- Kitchen scale
- Silicone molds from Amazon
- Wooden stirring stick
Materials:
- Soy wax flakes
- Vanilla Sandalwood fragrance oil
- A few drops of dye
My Process: I decided to use an electric wax melter because I felt more comfortable with the controlled heating. You can absolutely use a double boiler on the stove or even a microwave (in 30-second intervals), but the electric melter made me feel more confident as a complete beginner.
The key steps that worked for me:
- Heated the wax slowly – I was so paranoid about overheating that I probably went slower than necessary, but better safe than sorry!
- Watched that thermometer religiously – Added my vanilla fragrance oil at exactly 65°C (right in that 60-70°C sweet spot for soy wax)
- Stirred gently – I’d read about avoiding air bubbles, so I stirred like I was afraid to wake a sleeping baby
- Poured carefully – Let it cool to about 60°C before pouring into the molds
- Waited forever – Okay, this is on me. Initially I wanted to wait for 14 days to cure, which felt like forever, but once cooled I stowed it in my aromatherapy drawer and only remembered to test last week!
The Big Test: How Did They Actually Turn Out?
I was so nervous testing my first batch! I popped one into my wax warmer and waited… and honestly? I was amazed.
The scent projection was incredible – I could smell the warm and spicy scent throughout my entire living room and even into the kitchen. Way stronger than I expected from my first attempt!
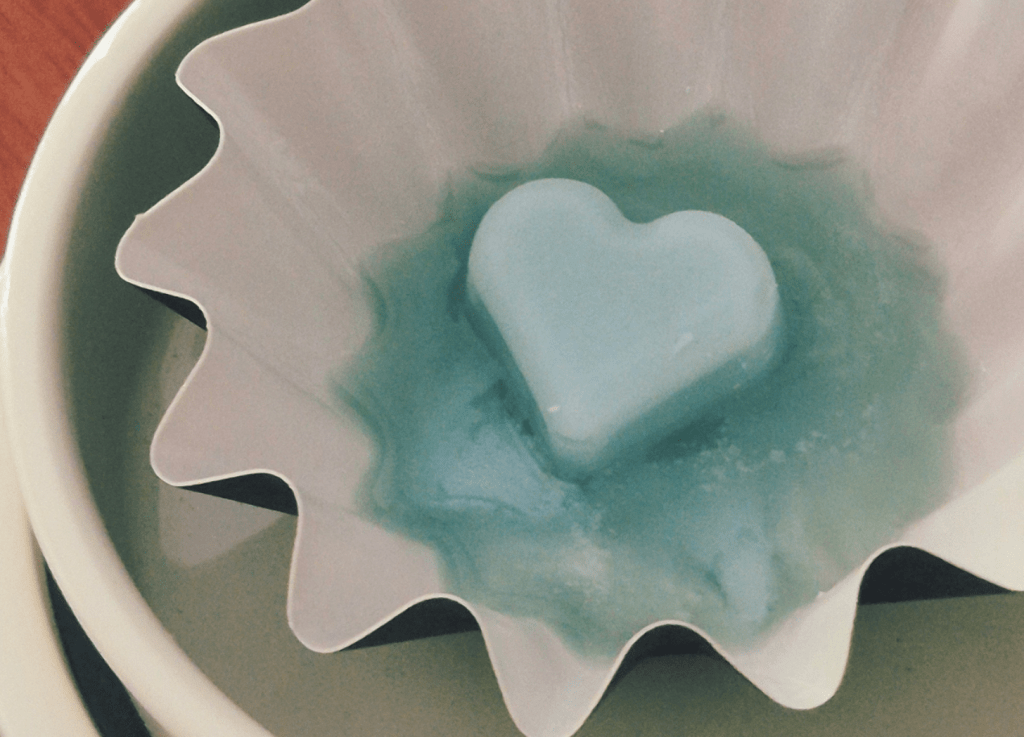
The texture surprised me too – I’d read so much about wax melts being crumbly or too soft, but mine were firm and solid. They popped out of the silicone molds perfectly and felt just like store-bought ones.
They lasted longer than expected – The scent stayed strong for over 4 hours, which was honestly better than some expensive ones I’d bought.
Seeing them actually work felt like such a victory! All that careful temperature monitoring and patient waiting had paid off.
What I Learned: Common Beginner Pitfalls to Avoid
Through my research and careful first attempt, here’s what I learned could have gone wrong (and how to avoid these pitfalls):
1. Getting Impatient with Temperature
The risk: Overheating the wax leads to discoloration and burnt smells
What I did: Used my electric melter on low and checked the thermometer constantly
Alternative methods: Double boiler on low heat, or microwave in 30-second bursts
2. Adding Fragrance at the Wrong Time
The risk: Too hot = fragrance evaporates, too cool = poor scent distribution
What worked: Waiting for exactly 65°C (within that 60-70°C range for soy wax)
The key: Patience and that digital thermometer!
3. Rushing the Pouring Process
The risk: Pouring too hot creates rough surfaces, too cool causes poor adhesion
What I did: Let it cool to 60°C before pouring slowly into molds
Pro tip: Take your time here – it makes a huge difference in appearance.
4. Creating Air Bubbles
The risk: Stirring too vigorously creates holes and imperfections
What worked: Gentle stirring and tapping the molds after pouring
The result: Smooth, professional-looking surfaces
5. Not Curing Long Enough
The risk: Using them too soon = weak scent throw and poor texture
What I did: Let the curing process finish (and then some)
Why it matters: Proper curing strengthens both scent and structure
6. Skimping on Quality Ingredients
The risk: Cheap supplies = disappointing results
My approach: Invested in quality soy wax and fragrance oil from reputable suppliers
The payoff: Professional results that outperformed store-bought melts
7. Overloading the Warmer
The temptation: Thinking more melts = stronger scent
The reality: One melt gave me amazing scent throw throughout the room
The lesson: Sometimes less really is more
8. Not Cleaning Equipment Between Projects
The risk: Residue affects future batches
My habit: Clean everything thoroughly before starting
Future planning: Essential for when I try different scents
9. Getting Too Ambitious Too Fast
The temptation: Wanting to try complex scent blends immediately
My approach: Started with my tried and true vanilla sandalwood fragrance
The wisdom: Master the basics first, then experiment
Your Beginner-Friendly Action Plan
If you’re thinking about trying this yourself, here’s what I’d recommend based on my experience:
Start Simple:
- Choose one straightforward fragrance (vanilla, lavender, or citrus work great)
- Use soy wax – it’s forgiving and beginner-friendly
- Stick to basic equipment you’re comfortable with
Essential Equipment (Don’t Skip These!):
- Digital thermometer (absolute must-have)
- Kitchen scale for accurate measurements
- Silicone moulds or clamshell moulds (so much easier than trying to get them out of other materials)
- Heating method you’re comfortable with (electric melter, double boiler, or microwave)
My Beginner Timeline:
- Research and gather supplies: 1 day
- Actually making them: 2 hours
- Waiting to test: 24 hours for paraffin wax or for soy wax that will be 14 days of anticipation!
- Testing and celebrating: Priceless
What to Expect on Your First Try:
- You’ll probably be more nervous than you need to be (I was!)
- The process is more forgiving than tutorials make it seem
- Your first batch might surprise you with how well it turns out
- You’ll immediately start planning your next scent to try
What’s Next for This New Wax Melt Maker?
Now that I’ve successfully made my first batch, I’m already planning my next experiments! I’m thinking about trying:
- A fresh eucalyptus scent for the bathroom
- Maybe adding some color to future batches
- Eventually trying scent blends once I’m more confident
The best part? I feel like I’ve unlocked a whole new hobby. There’s something so satisfying about using something you made yourself, especially when it works this well.
My Honest Take: Should You Try This?
If you’re on the fence like I was, here’s my honest opinion: it’s absolutely worth trying, especially if you regularly buy wax melts anyway. The initial investment in supplies pays for itself quickly, and there’s real satisfaction in creating something that works just as well (or better!) than store-bought versions.
The process isn’t as scary as I thought it would be, and seeing that first successful melt working in my warmer was genuinely exciting. Plus, now I have the knowledge and confidence to keep experimenting.
Have you been thinking about trying wax melt making? I’d love to hear what’s holding you back or what scents you’re excited to try. Drop a comment below – as a fellow beginner, I’m happy to share what I learned or brainstorm together!
Want more crafting tips and tutorials? Subscribe to our newsletter for weekly DIY inspiration delivered straight to your inbox. Follow us on Instagram @jujucation for behind-the-scenes content and quick tips.
